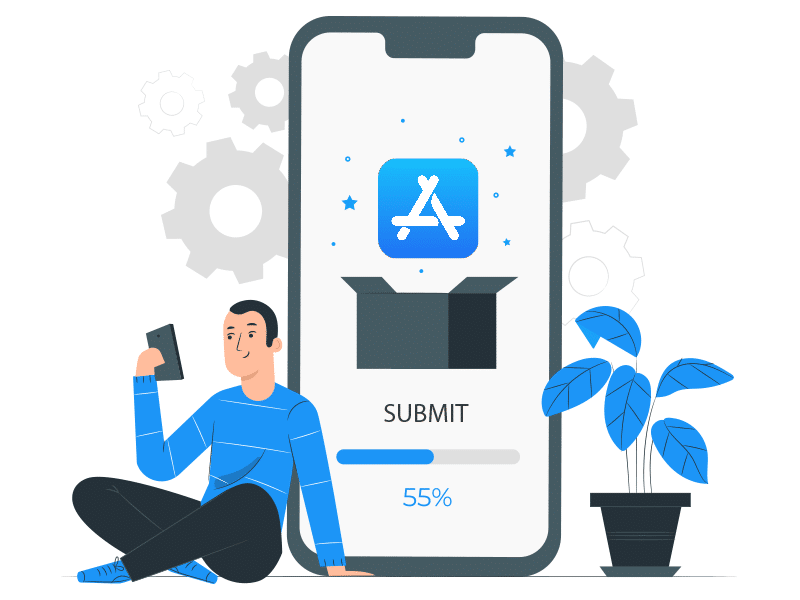
How To Submit an iOS App To The App Store
-
 Ankit Patel
 - January 20, 2022
- 8 min read

You’re releasing your first app, or it’s been a while since you’ve done so. It’s not as easy as pressing a launch button to submit an app to the App Store, but it’s also not as difficult as it may appear. However, ensuring that your app is properly submitted to the App Store is a critical initial step in assuring exposure and enticing customers to download it.
That’s why we put together this step-by-step guide on submitting an app to the App Store. This article will walk you through every stage of the process of submitting an iOS app to the App Store.
Table Of Content- Things To Consider Before You Upload Your App To The App Store
- Consider Technical Prerequisites
- Fulfill Legal Prerequisites
- Review The Official Guidelines
- How to Publish Your App on the App Store
- App Store Submission Checklist
- Conclusion
Things To Consider Before You Upload Your App To The App Store
- Examine the marketplace : Because market research on market needs was not completed, 40% of mobile apps fail. To determine the market structure and demands, concentrate on learning about the sector and identifying your competitors. Gather customer feedback and other information to ensure that your app reaches its intended audience. Through mobile app development services, you can upload the app to the app store smoothly. An experienced mobile app development company take care of challenges that arise at the time of uploading the app.
- Make Eye-Catching Brand Visuals : If the experience is positive, successful visual branding produces a memorable experience for the customer, builds trust in the firm, and encourages recommendations and repeat business. Visual aspects, notably colour, influence 90 to 95 percent of transactions and can increase brand recognition by 80 percent. Consider your colour palette, design, and other aesthetic elements. What will your target audience respond to the most? This stage is crucial to your branding strategy since it aids in the development of your brand persona.
- Test your app properly : Before releasing your app, test it on many Apple devices to ensure that all bugs are fixed. It’s critical to have comprehensive quality checks and testing methods in place before launching your app to ensure its long-term success.
- Create a pricing strategy : Before you deploy your app, think about the price strategy. Apps, unlike most other items, can earn money in a variety of ways. Creators can launch an app as a free, freemium, or paid app. Examine your options, assess the benefits and drawbacks of each, and choose the model that best suits your needs.
- Boost Your Store’s Visibility : When it comes to the App Store, optimizing your app involves ensuring that it is close to the top of its category so that it can attract more people. Apart from this making it easily visible to potential customers –
- You’ll need to leverage App Store Optimization features like keywords, app descriptions, and photos to do this
- You’ll need to leverage App Store Optimization features like keywords, app descriptions, and photos to do this.
- App logo to link the app with your business, as well as an app landing page to improve identification.
- Make a landing page for your app : A basic, one-page website for your app or a dedicated page on your company’s existing website could be an effective marketing tool. It should include various informative components and, to-the-point information on the benefits features so that you can stand out from the competition. Don’t forget to include screenshots and videos of the programme in operation, as well as user testimonials and download links to the App Store.
- Formulate a Growth Plan : After launching the app, put plugins on your app’s landing page and develop a social media posting strategy to promote your app’s launch and tease new features to ensure that it is shared.
Consider Technical Prerequisites
First and first, when it comes to submitting your software to the App Store, we must consider technical requirements.
- Developer Account : You have to go for an Apple Developer Program to submit the app to the App Store. The account costs $99.00 per year. Aside from the opportunity to publish the app, you’ll have access to a wide range of perks and testing tools.
- The app has been posted to the App Store Connect platform : You’ll have an app built before you think to submit your app for review. Your developer account must be allocated to it. Your development team can complete the assigned task which as a result will create the correct certificate required by Apple on your Developer Account and sign the app created with it.
Fulfil Legal Prerequisites
The app you submit to the App Store must meet all legal requirements in any country where it is distributed.
Apple is particularly concerned with how user data is handled and whether apps adhere to the Apple Developer Program License Agreement. The licence covers a few things which are extremely necessary for an app such as terms of –
- Data collection and storage,
- Data usage and sharing,
- Data protection in health research, and
- Data gathering from children.
In addition, your app should only contain content that you generated or have permission to use. The app can be withdrawn from the store if it is found to be using someone else’s material without permission.
Review The Official Guidelines
Apple places a premium on app quality and thorough app information that can be found on the App Store’s Product Page. They developed their own set of guidelines for all elements of the app development process. Let’s have a look at the publishing process of the app store. Android app development also requires certain guidelines which have to be fulfilled before uploading the app.
How to Publish Your App on the App Store
Sign Up App Store ConnectThe procedure begins in App Store Connect, where you can go to My Apps and click the plus icon to make an app.
Name –Your name can be up to 30 characters long. The user will see this as the main app name on the App Store.
Primary Language – The content in the app is shown in this language. If a language’s translations are unavailable, the primary language will be utilized instead.
Bundle ID –This is where you can choose from the list of app identifiers in your Developer Account. When the app is finished, make sure you use the same ID which you used earlier to archive the app.
User access –Specify whether your app should be available to all members of your App Store Connect organization or to select groups or individuals.
Prepare Your App for Submission
- Make sure your software complies with the App Store’s rules : Your software must go through an app certification procedure before it is published in the Apple App Store. It may sound intimidating, but it’s simply a person that examines your software and ensures that it complies with App Store criteria before approving it for publication in the app store.
- Check your app for bugs and repair them : Aside from adhering to the rules, make sure your software is bug-free and crashes-free. If the reviewer can consistently crash your app, you will not be given a pass. Don’t just test it in typical circumstances when you’re testing it. Experiment with poor network connectivity, low storage, and outdated devices, among other things.
Create Your App Store Listing
To begin, go to App Store Connect and log in:To pish an app, go to the My Apps menu and choose “+” to make a new one. The processes are identical if you want to submit an update to an existing app, but instead of adding a new app, you’ll select an existing app.
Name and classification of the appIf you’re not sure what Apple wants, click the “?” option to fill in the details about your app. The webpage is also rather straightforward.
At this step, you must fill in all of the details for your app like –
- The name
- Description
- Category
- Audience minimum age
- Privacy policy, and
- Support URL
These are necessary when you submit your app in the app store. If your software is social media-based and requires a login, make sure to conduct appropriate tests before launching.
Privacy PolicyYou must also include a link to a privacy policy. If you don’t know how to do it, write “App Privacy Policy” on Google and you’ll find plenty of examples and privacy policy generators to utilise.
Decide app pricingAfter the completion of the privacy policy page, you have to decide on a particular price for your app. To access the app, users have to pay a certain amount.
App Release OptionsOnce your software will pass the certification process, You can simply decide how your app will be released in-app store.
- Manually
- Immediately or
- On a specific date
Make & Upload Your App Store Screenshots
You can simply create your screenshots by using these three ways –
- Raw screenshots : The quickest and most straightforward method is to run your app in the iOS simulator, scroll to the screen you want to capture, and then press CMD+S on your keyboard. This will save a PNG picture file to your computer’s desktop. Now you only have to post it to App Store Connect!
- Use a Mock Up Template : Here you have to use a few tools to make attractive screenshots. You can use free as well as paid tools. A paid tool that allows the user to access the camera on a 3D device mockup in order to achieve the ideal angle. The image should then be exported and imported into your graphics application.
- Use an App Store Screenshot Generator : All you have to do now is choose a template, upload your screenshots, and customize the text. You may then export all of your screenshots at once. By choosing any of the options above, you can upload your app screenshots.
Submit Your App to App Store
Now that you’ve completed all of the processes required for submitting your app to the app store, all you have to do is post it and wait for Apple’s office staff to review it.
- You can choose between automatic and manual release whichever you prefer.
- Wait for some days for Apple’s approval or rejection.
- If your app gets rejected, make sure to make notes so that necessary changes can be made anytime.
- Then finally came to the release stage. You can go for manual release or set a date and time for uploading the app. In automatic upload, your app will automatically upload on the app store. A mobile app development company can help you out in submitting the app without any trouble.
Submit Your App for Review
Click on the review option as you’ve completed all of the required elements and have been given permission to submit your app for evaluation. Apple will review your app over the next several days and either accept it, informing you of the good news you were hoping for, or reject it, informing you of the reasons for the rejection. This is the last stage of your approval process, after this, your app will go live.
If somehow your app gets rejected, don’t panic as it’s quite acceptable to get turned down. It simply indicates that something needs to be changed or clarified. Examine the reasons for rejection and gladly resolve all of the difficulties that have been raised. You will eventually receive a different email, your app will be approved, and your sole focus will be to improve your app.
Go Live!
Now is the time to wait for Apple’s specialist to test and approve the app. In the General / Version history tab, you can see the current state of the review.
You can now monitor your app by using the Analytics tab.
You’ll be able to see the number of users, session times, sales, and crashes, among other things
It’s also critical to address bugs and update the software on a regular basis.
App Store Submission Checklist
- Check that your app is complete and that all of the features work as expected.
- Please ensure that your software complies with the App Store Guidelines, particularly those pertaining to user-generated content.
- Gather screenshots, links, icons, and a description of the software.
- You must offer enough information for reviewers to be able to thoroughly test the app. If your app requires authentication, for example, you must provide Apple with a valid username and password combination.
- Check the performance of your programme is stable, and it does not drain the battery or influence the device’s performance.
- Your app needs to work with the most recent Apple devices and operating systems.
Conclusion
It is not simple to submit your software to the App Store. Your app must follow specific iOS app development criteria and pass through a review process that will either accept or reject it, which is why following the step-by-step approach is critical.
If your app is refused, you must make the necessary changes before resubmitting it for evaluation.
If you believe your app was rejected without reason, you can interact with Apple’s staff using App Store Connect’s Resolution Center to escalate the matter or submit an appeal. You can avail of mobile app development services as iOS app development companies handle everything at their own level.
Ankit Patel is a Director of Sales & Marketing at XongoLab Technologies LLP and PeppyOcean, A leading mobile app development companies. In his free time, He likes to write articles about technology, marketing, business, web, and mobile. His articles featured on YourStory, E27, Datafloq, JaxEnter, TechTarget, eLearningAdobe, DesignWebKit, InstantShift, Business Magazine, SimpleProgrammer, and many more.
You may also like
How to Choose the Right Mobile App Development Company
- Ankit Patel
Imagine this: you’ve got a brilliant app idea that could revolutionize your business, take it to new heights, and transform your entire customer experience. But without the right team to… Read More
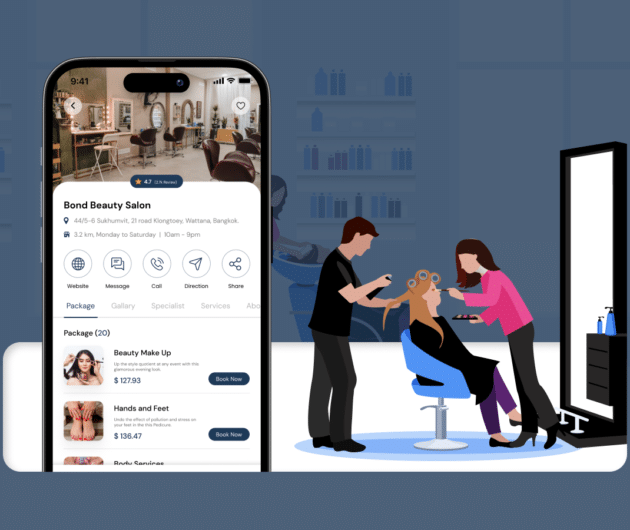
How Much Does it Cost to Build a Salon Booking App like Fresha?
- Ankit Patel
We all have witnessed the buzz in the world of beauty & wellness, and it’s booming every day thanks to the fast-paced and stressful lifestyle. In an era where time… Read More
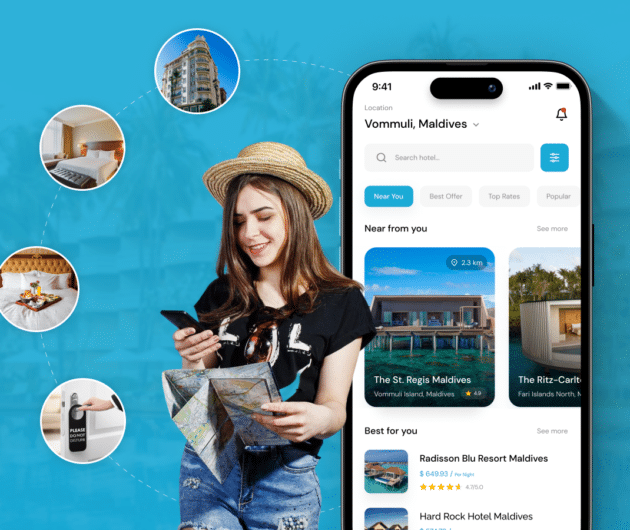
A Complete Guide to Hotel Booking App Development With Cost
- Ankit Patel
Whether it’s a corporate business trip or a relaxing vacation with friends, finding the right hotel at the right time and a seamless hotel booking experience is not a luxury… Read More